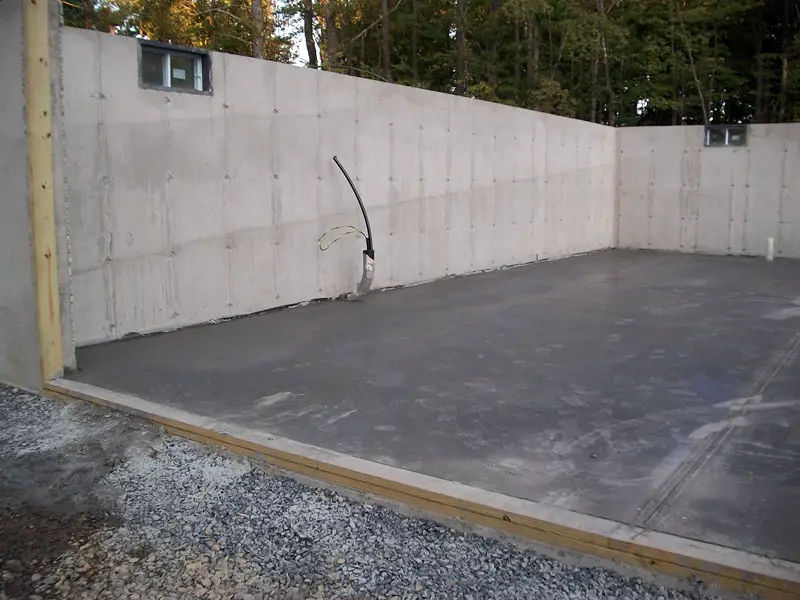
Here are the tools and steps to finishing a Concrete Slab.
Lets begin: A Concrete Tamp is widely use in the southwest, but may not be used in other geographic areas.(Consult your local Ready-mix.)
(1) Concrete Tamp; 3 or 4 ft. Definition; used to condense the concrete mix. Condensing, forces moisture to the surface. (Bleeding.)
(2) Bullfloat; 3 or 4 ft. (With two handles)
Definition; used to level the surface of concrete, sealing concrete from moisture lose. (Use two directions if possible.)
(3) Fresno; 24 inch or 36 inch. (With two handles, depending on reach)
Definition; smooths and seals the concrete surface. (Use two different direction if possible.)
(4) Walking Edger; 3/4 inch.
Definition; used to form the edges of concrete to a smooth rounded edge.
(5) Hand Edger; 3/4 inch.
Definition; used to form the edges of concrete to a smooth rounded edge.
(6) Jointer. (Called a Grover in other areas)
Definition; used to section concrete to manage cracking. Called a, (Control Joint.)
(7) Magnesium float;
Definition; used to level concrete to existing concrete and forms.
(8) Steel trowel; 3 x 14 inch (If possible.)
Definition; used to smooth and seal concrete to a refined finish.
(9) Walking Trowel; Definition; used to smooth and seal concrete to a refined finish.
(10) Concrete Broom. (Or any soft broom will work.)
Definition; used to uniform the concrete to a non-slip textured surface.
(11) Concrete Boots; Protection from harsh chemicals.
(12) Gloves; Protection from harsh chemicals.
(13) Ten pounds of weight for the Fresno.
Small Handles should be interchangeable with the walking edger, fresno and Walking trowel.
The bullfloat handles should be interchangeable with the driveway jointer.
Delivery; Check the time on the ticket before unloading. The time concrete was batched at the plant, to the time of delivery should not exceed 60 minutes. The time it takes to unload the truck should not exceed 30 minutes, for a total time of 90 minutes. Over this time you may experience trouble finishing. (If concrete is older than 90 min. when delivered. Reject the load.)
Have a designated area for the Ready-mix truck to wash out, or wheelbarrow.
Delivery drivers will put there own shoots on and discharge concrete. Let the driver know what slump you want before pouring out. Most drivers should be able to accommodate the desired slump. (6 inch slump min. 7 inch slump max. suggested)
Time is a factor, don’t waist any time getting the concrete laid out, Rodded off and Tamped. Note; (The longer it takes the faster the concrete will set.)
Have enough help with you leveling the concrete as you are pouring out.
Do not over pour your project!
Start Tamping. While Tamping, your helpers can use a Magnesium float to level the edges to existing concrete and forms. After Tamping your slab should Bleed, Bullfloat after Bleeding minimizes. (Not Bleeding, Bullfloat immediately you are behind)
Starting from where you started the pour, Bullfloat the slab in two different directions, if possible to assure a level surface. While Bullfloating your helpers can edge perimeters of the slab with a Walking Edger. Edging takes a light touch the first go round, be careful not to push the edge down. If so, bring it back using a Magnesium float.
Now, snap a string line to guide you, then install the control joint, using the Jointer.
The Jointer should float across the concrete, while cutting the joint. (Like cutting butter.) If concrete is to hard and Joints can not be installed, delete Jointing from the instructions. Saw cut the joints within 72 hrs after finishing,(Saw cut 1/4 thickness of slab min.)
Next, Fresno entire suffuse, smoothing out any Joint and Edger marks.
After allowing concrete to set up slightly, repeat Edging and Jointing, (then add 5 lbs. of weight to the Fresno, if needed,) work entire surface smoothing out any Joint or Edger marks.
After allowing concrete to set up slightly, Repeat Edging and Jointing then, add another 5 lbs. of weight to the Fresno for a total of (10 lbs.) work entire suffuse smoothing out any Joint or Edger marks
Note; if Fresno skips across the slab, add more weight to the Fresno.
You have Edged, Jointed and Fresnoed the drive a total of 4 times minimum, your concrete should be hard enough to walk on, leaving a slight imprint. Now, use a Walking Trowel, for a smooth finish. Or delete Walking Trowel, and finish using the Fresno by adding more weight. Now, touch up any blemishes with a steel trowel, then Broom. After Broom marks are dry, water the slab twice a day for 3 to 7 days.
Congratulations! You did it!