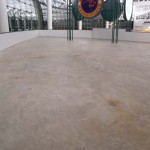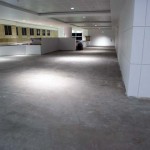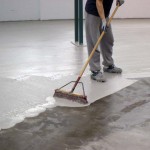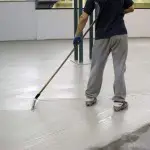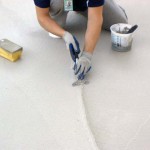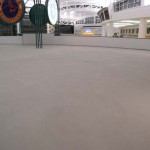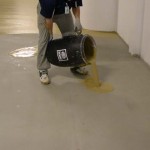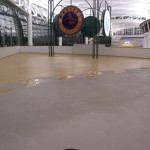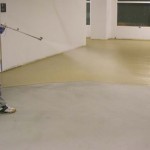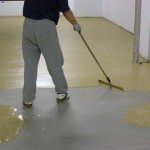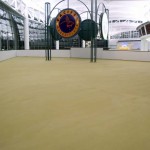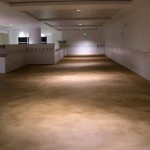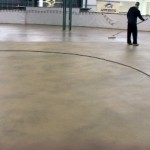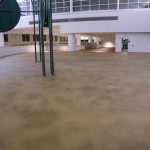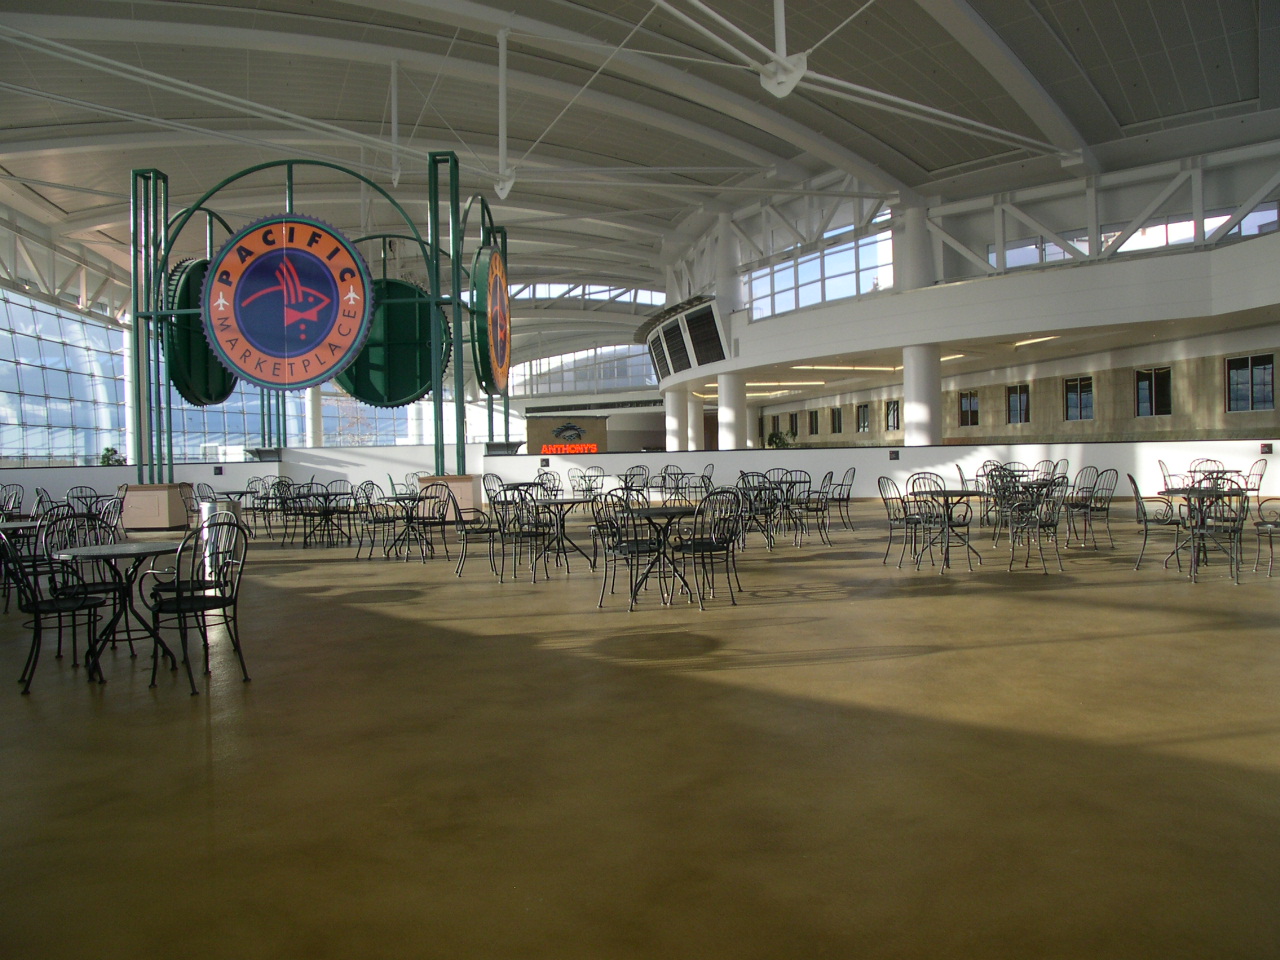
This 8000 square foot floor was installed at the Seattle International Airport over the course of three nights with two experienced decorative concrete installers. The products used were, two thin micro topping coats over a properly cleaned and prepared substrate. Integral color was used on the second coat to give the overall color, but then additional highlights were added with a surface dye, before being sealed with a two component polyurethane system.
These were the steps involved in completing this project:
Step 1:
Select a system that was user friendly for the airport setting. this involved choosing a system that was low odor, low VOC, didn’t require loud machinery for floor preparation and would be durable in a high traffic setting.
Step 2:
Level and smooth out any rough or imperfect concrete.
Step 3:
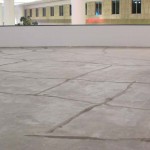
Fill all the visible floor cracks with a flexible patch material or a microtopping mixture to seal them.
Step 4:
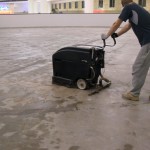
Clean the floor with a walk behind floor machine. Use a TSP and water solution to clean and prepare the substrate. Remove all contaminants and debris.
Step 5:
Mix a bond coat and coat the floor using a stiff broom to help move and spread it as well as adhere it to the surface.
Step 6:
Smooth out the finish and broom lines with a squeegee or specialty magic trowel to the desired finish.
Step 7:
After the first coat dries scrape and remove any high spots or lips to give a fairly level and consistent finish.
Step 8:
Leave to dry for an adequate amount of time.
Step 9:
Mix an integral colored batch and start placing the material
Step 10:
Wet the surface without leaving puddles to make it easier and give it a better bond. The material will have a longer work time this way.
Step 11:
2 bag mixes can be done in a large mix barrel. This makes mixing easier but keeping up a bit more difficult. Remix the batch if it is left standing for more than 2 minutes to keep the aggregate suspended.
Step 12:
Use a squeegee or magic trowel to spread the material and give it the desired finish. This is the final finish so make it perfect.
Step 13:
Let it dry overnight.
Step 14:
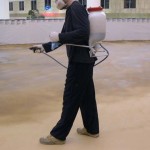
Apply desired surface color(s) you can use a backpack sprayer for large areas to keep the spray consistent.
Step 15:
This is what it looks like after the color coat.
Step 16:
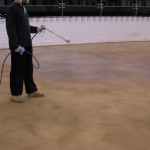
Spray a primer coat to lock in the color and set the standard for the top coat.
Step 17:
Spray and back roll the top coat to give a uniform finish.
Step 18:
Leave to dry overnight.
Step 19:
Done!

