Pouring and Placing a Concrete Slab
When the concrete placement area is framed and firmly in place, it is ready to be filled with liquid concrete. However, pouring concrete only affords one time to get it right. There are numerous factors that must be considered and addressed before the concrete can be installed. This includes the shape of the placement area, along with its size, depth, and how it will be finished.
With a firm decision made on all the above factors, it’s time to prepare the area for the concrete placement. This requires 7 effective steps from the layout to the finished product. The following steps detail each part of the entire project:
1. The Layout
The layout must be correct and triple checked for accuracy. If you start with a non-square layout, the entire building or structure will need to compensate for this error. Check the layout and measurements and make sure everything is perfect.
2. Preparing the Site
The strength, durability and longevity of the poured concrete will be enhanced by proper site preparation. Typically, a contractor will use extensive earthmoving and/or excavation equipment to prepare the site. Equipment is used to remove trees, landscaping, rocks and other debris. This provides a clean slate for adding the proper levels of granular fill or highly compacted soil to produce a stable sub-base. Proper preparation of the sub-base can greatly reduce the potential of concrete heaving and cracking as a result of frost, heat and expansive soils.
3. The Forms
The forms will be set in place to contain the concrete as it is being poured. Forms are made from a variety of materials including metal, wood or plastic. These forms are held firmly in place using wooden or metal stakes. Attention to detail is crucial in adjusting the form correctly to ensure proper grade or slope for drainage. Forming techniques or specially constructed forms are often used for creating walls and stairs.
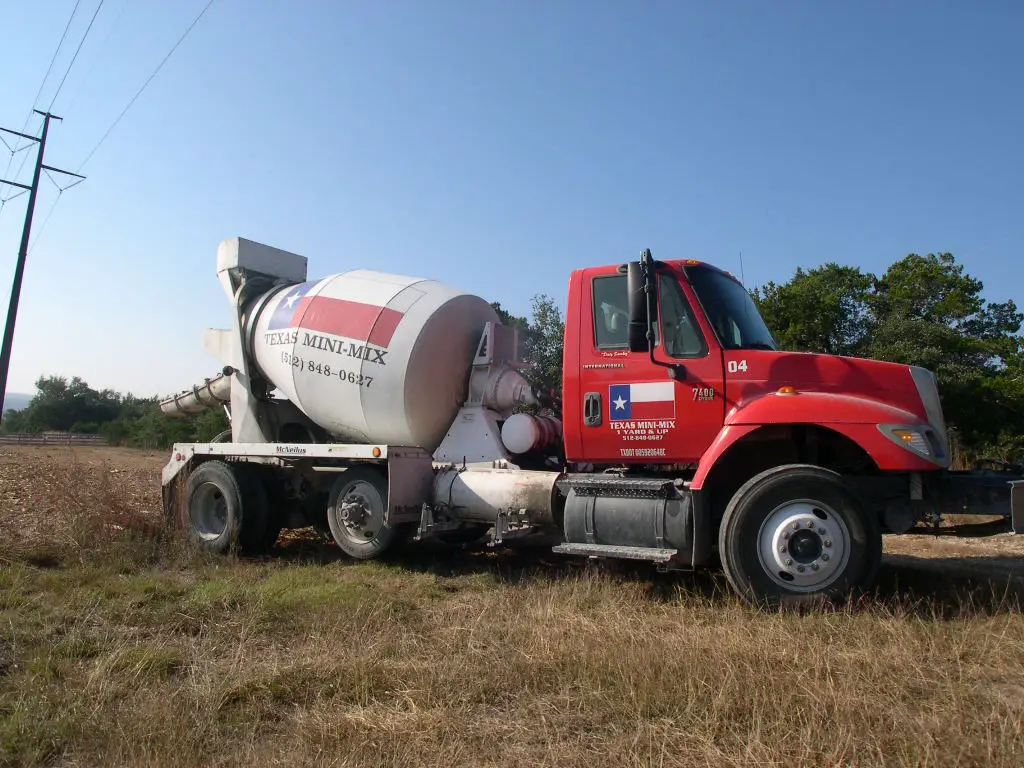
4. Concrete Placement
With the sub-base complete, and the forms set firmly in place, the concrete can now be poured. The concrete contractor will order the proper concrete mix based on the specifications of the slab, walls, road, patio, sidewalk or other area being poured.
5. Initial Finishing
As soon as the wet concrete mixture is poured into the pre-set forms, wood or metal boards are used to screed the concrete top layer. This will consolidate and compact the mixture so that a concrete float can be used to smooth out the top surface and remove any high areas or depressions.
6. Troweling
Finish troweling must be performed to achieve a smooth look of the finished product, or to accept a concrete stamp. However, the setup of the concrete must be in the firming stage before the steel trowel can create a hard, smooth surface.
7. Finishing and Curing
Usually, the final step involves a surface finish that may include a highly polished, stamped or broomed finish that makes the surface slightly rough and textured. The curing process begins even before the concrete is poured. However, it takes 28 days for the entire concrete poured area to fully cure. Adding a curing compound within the first two days allows for slower curing and less potential of surface discoloration and cracks.